
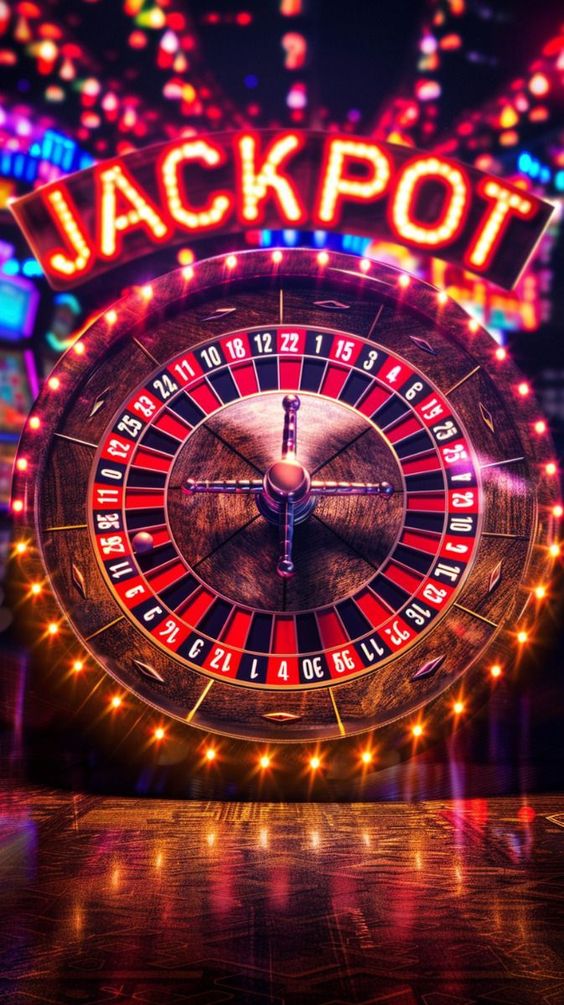

Permainan Judi Togel Online Strategi Mudah Dimenangkan
Togel (Toto Gelap) merupakan salah satu jenis permainan judi yang telah populer di Indonesia selama beberapa dekade. Dengan perkembangan teknologi,…

danburydrumcorps.com
Togel (Toto Gelap) merupakan salah satu jenis permainan judi yang telah populer di Indonesia selama beberapa dekade. Dengan perkembangan teknologi,…
Dalam dunia permainan slot online, slot telah menjadi salah satu permainan yang paling digemari oleh para pemain. Di antara banyak…
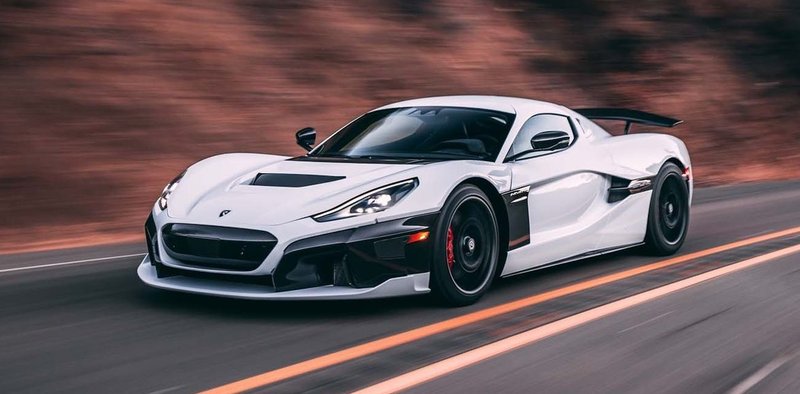
Mobil sport selalu menjadi simbol kecepatan, desain yang menawan, dan teknologi terkini. Tahun ini, industri otomotif menghadirkan beberapa model yang…
Bandung, yang dikenal sebagai Kota Kembang, tidak hanya menawarkan pesona alam yang menakjubkan dan berbagai kuliner yang menggugah selera. Saat…
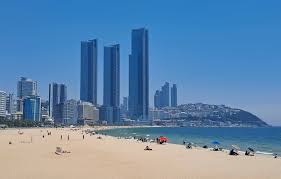
Haeundae Beach, terletak di kota Busan, Korea Selatan, adalah salah satu destinasi wisata paling terkenal di negara ini. Sebagai pantai…
Jeju Island, yang terletak di ujung selatan Korea Selatan, adalah sebuah pulau yang menawarkan keindahan alam yang luar biasa. Pulau…
Dalam dunia perjudian slot online, ada berbagai simbol wilddan Pengaruhnya yang digunakan untuk meningkatkan pengalaman bermain dan peluang menang.…
Memanfaatkan bonus pada Situs slot online kini telah menjadi salah satu hiburan utama bagi para penggemar perjudian daring. Dengan…
Jika Anda penggemar game slot dan sedang mencari permainan dengan peluang menang besar, Mahjong Wins dari Pragmatic Play bisa menjadi…
Apakah Anda penggemar permainan slot online dan mencari cara untuk meraih kemenangan besar? Sweet Bonanza telah menjadi salah satu permainan…
Perkembangan inovasi teknologi dalam bidang kesehatan telah membawa dampak signifikan terhadap cara kita menjalani hidup, baik dalam hal kualitas layanan…
Tana Toraja, yang terletak di Sulawesi Selatan, Indonesia, adalah destinasi wisata yang memikat dengan pesona alam dan keunikan tradisinya. kenal…
Flores, sebuah pulau yang terletak di Nusa Tenggara Timur, Indonesia, menawarkan pesona alam yang menakjubkan dan budaya yang kaya. Pulau…
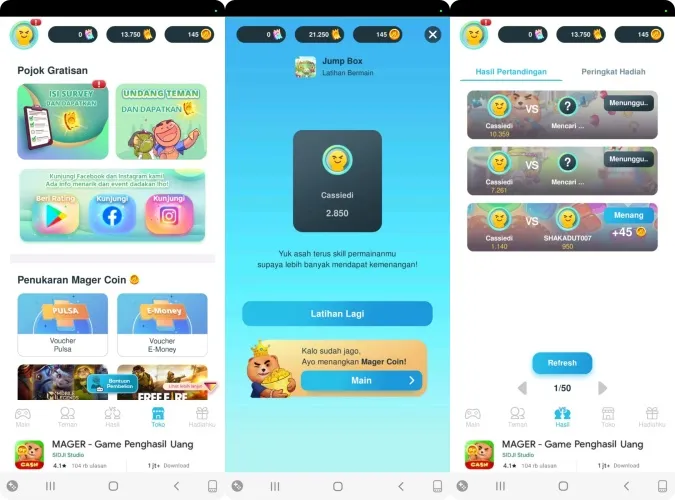
Di dunia game mobile, banyak aplikasi yang tidak hanya menawarkan hiburan tetapi juga kesempatan untuk menghasilkan uang. Salah satu game…
Di tengah maraknya aplikasi penghasil uang, MAGER muncul sebagai salah satu pilihan yang menarik perhatian para pengguna Android. Dengan berbagai…
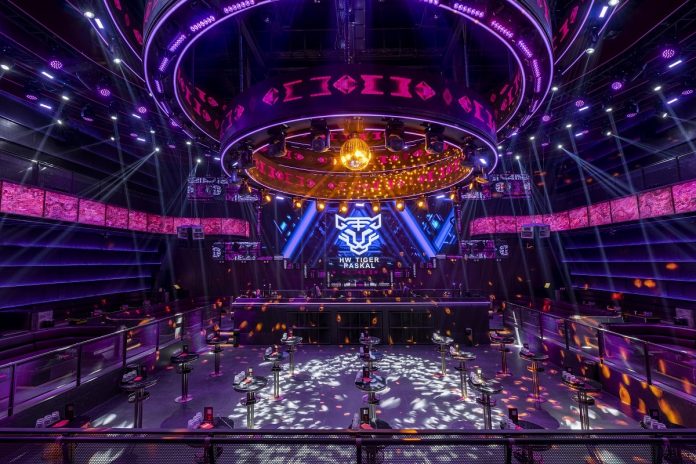
Dalam era digital yang semakin maju, hiburan online telah menjadi bagian integral dari kehidupan kita sehari-hari. Salah satu bentuk hiburan…
Industri otomotif Indonesia telah mengalami perkembangan yang signifikan dalam beberapa dekade terakhir. Dari sekadar pasar lokal, Indonesia kini menjadi salah…